Foggy day
[Flutter] FloatingActionButton - 사용법 본문
이번 포스팅에서는 FloatingActionButton에 대해 알아보겠습니다.
FloatingActionButton은 Scaffold 위젯과 함께 사용합니다. 화면에 floating 한(떠있는) 버튼을 만들고, 이 버튼을 특정 위치에 배치할 수 있습니다. 그리고 화면을 전환할 때 hero애니메이션을 추가할 수 있어서 다이내믹한 효과를 줄 수 있습니다.
1. 기본 사용법
2. 디자인 변경
3. hero 애니메이션
1. 기본 사용법

FloatingActionButton을 사용하기 위해서는 Scaffold위젯이 필요합니다. Scaffold 위젯의 floatingActionButton 특성에 FloatingActionButton 위젯을 넘겨주기만 하면 됩니다.
아래 코드를 입력한다면 우측 이미지 처럼 화면 오른쪽 하단에 동그란 버튼이 하나 생성됩니다.
  @override
  Widget build(BuildContext context) {
    return Scaffold(
      appBar: AppBar(
        title: const Text("FloatingActionButtonScreen"),
      ),
      floatingActionButton: FloatingActionButton(onPressed: () {

      },),
    );
  }
2. 디자인 변경
워하는 디자인으로 꾸미기 위해서는 여러 작업이 필요합니다. 그래서 FloatingActionButton 클래스는 기본적으로 3개의 Named Constructor를 제공합니다.
- small : 작은 형태의 버튼(40x40)
- large : 큰 형태의 버튼(96x96)
- extended : 두 가지 UI 형태를 가진 버튼(접거나 펼치거나)
최종 예제에서는 세 가지를 모두 사용하지만 extended가 약간 더 복잡하기 때문에 extended 생성자를 먼저 사용하겠습니다.
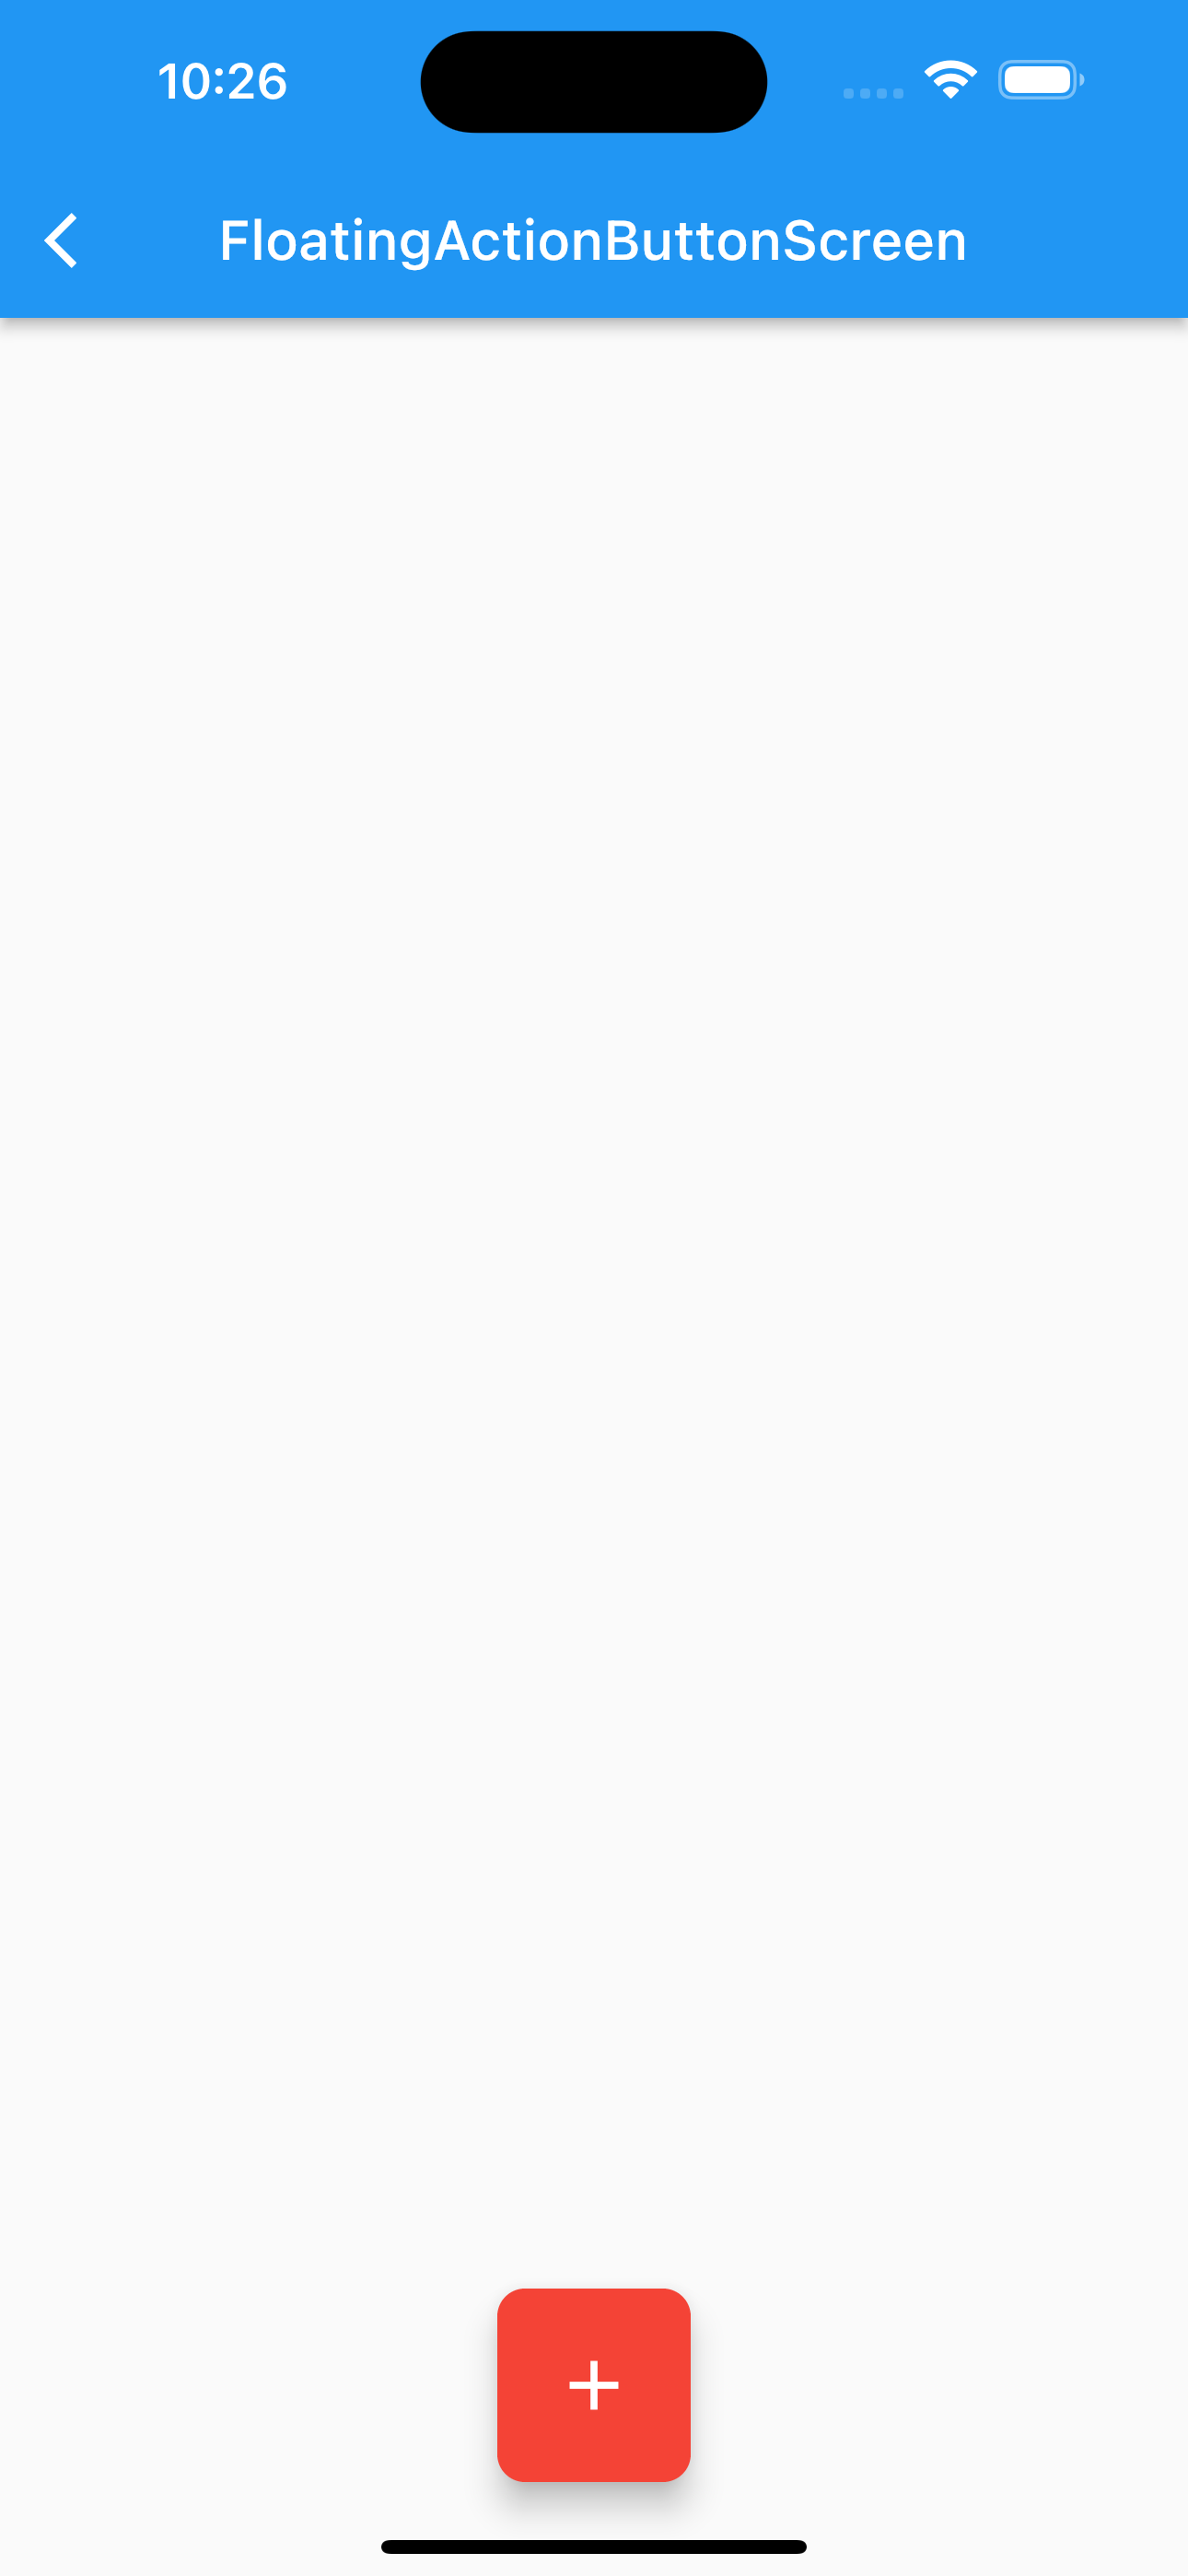
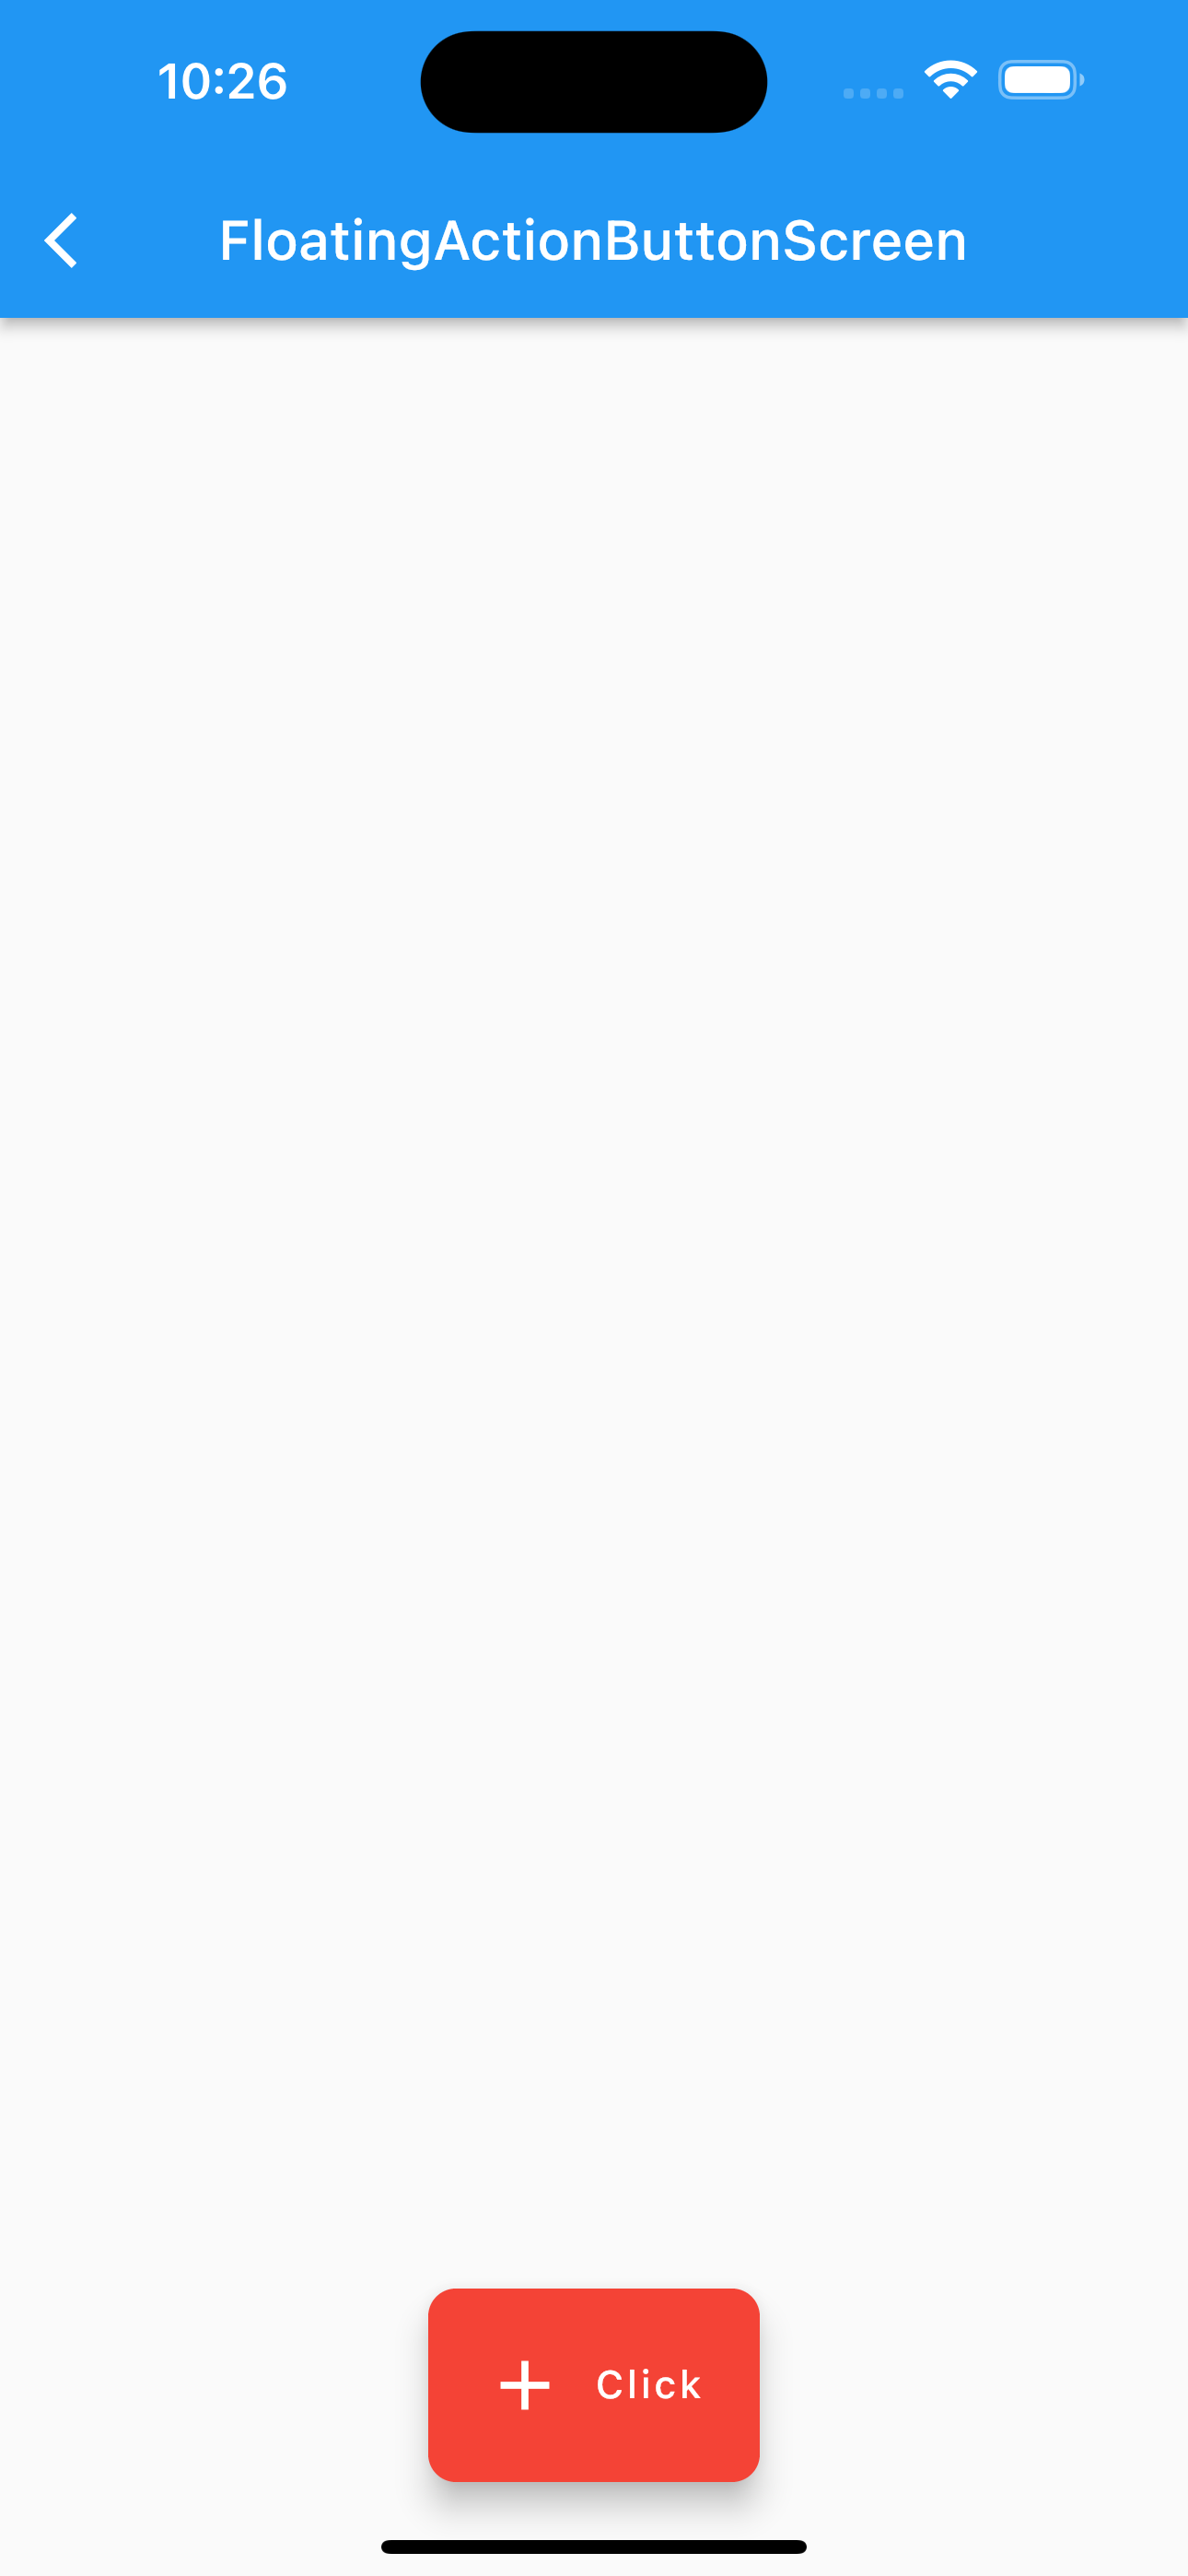
extended 생성자를 사용하면 버튼이 펼쳐졌는지 아닌지를 입력해서 UI를 변경할 수 있습니다. extended가 false인 경우에는 아이콘만 보여주고, true인 경우에는 아이콘과 label을 같이 보여줍니다.
예제 코드에서는 현재의 값을 체크하기 위해 bool extended 변수를 하나 만들어서 버튼을 클릭했을 때 변수의 값을 변경시켜주고 있습니다.
  bool extended = false;

  @override
  Widget build(BuildContext context) {
    return Scaffold(
      appBar: AppBar(
        title: const Text("FloatingActionButtonScreen"),
      ),
      floatingActionButton: SizedBox(
        height: 70,
        width: extended ? 120 : 70,
        child: extendButton(),
      ),
      floatingActionButtonLocation: FloatingActionButtonLocation.centerDocked,
    );
  }

  FloatingActionButton extendButton() {
    return FloatingActionButton.extended(
      onPressed: () {
        setState(() {
          extended = !extended;
        });
      },
      label: const Text("Click"),
      isExtended: extended,
      icon: const Icon(
        Icons.add,
        size: 30,
      ),
      shape: RoundedRectangleBorder(borderRadius: BorderRadius.circular(10)),

      /// 텍스트 컬러
      foregroundColor: Colors.white,
      backgroundColor: Colors.red,
    );
  }
왼쪽 extended = false, 오른쪽 extended = true


3. hero 애니메이션
FloatingActionButton에는 heroTag라는 속성이 있습니다. 화면을 전환할 때 동일한 heroTag값을 가진 FloatingActionButton 끼리는 hero 애니메이션이 추가됩니다.
애니메이션을 위해서 3개의 화면을 만들었습니다. 3개의 화면에 모두 동일한 heroTag를 입력했고, floatingActionButtonLocation 속성을 이용해서 button의 위치를 다르게 했습니다.


첫 번째 화면 코드
import 'package:flutter/material.dart';
import 'floating_action_button_second_screen.dart';

class FloatingActionButtonScreen extends StatefulWidget {
  const FloatingActionButtonScreen({Key? key}) : super(key: key);

  @override
  State<FloatingActionButtonScreen> createState() =>
      _FloatingActionButtonScreenState();
}

class _FloatingActionButtonScreenState
    extends State<FloatingActionButtonScreen> {
  bool extended = false;

  @override
  Widget build(BuildContext context) {
    return Scaffold(
      appBar: AppBar(
        title: const Text("FloatingActionButtonScreen"),
      ),
      floatingActionButton: SizedBox(
        height: 70,
        width: extended ? 120 : 70,
        child: extendButton(),
      ),
      floatingActionButtonLocation: FloatingActionButtonLocation.centerDocked,
    );
  }

  FloatingActionButton extendButton() {
    return FloatingActionButton.extended(
      onPressed: () {
        if (extended) {
          Navigator.push(context, MaterialPageRoute(
            builder: (context) {
              return const FloatingActionButtonSecondScreen();
            },
          ));
        }
        setState(() {
          extended = !extended;
        });
      },
      label: const Text("Click"),
      isExtended: extended,
      heroTag: "actionButton",
      icon: const Icon(
        Icons.add,
        size: 30,
      ),
      shape: RoundedRectangleBorder(borderRadius: BorderRadius.circular(10)),

      /// 텍스트 컬러
      foregroundColor: Colors.white,
      backgroundColor: Colors.red,
      splashColor: Colors.blue,
      hoverColor: Colors.green,
      extendedPadding: const EdgeInsets.all(10),
      elevation: 10,
      highlightElevation: 20,
      extendedIconLabelSpacing: 10,
    );
  }
}
두 번째 화면 코드
import 'package:flutter/material.dart';

import 'floating_action_button_third_screen.dart';

class FloatingActionButtonSecondScreen extends StatelessWidget {
  const FloatingActionButtonSecondScreen({Key? key}) : super(key: key);

  @override
  Widget build(BuildContext context) {
    return Scaffold(
      appBar: AppBar(
        title: const Text("FloatingActionButtonSecondScreen"),
      ),
      floatingActionButton: FloatingActionButton.large(
        onPressed: () {
          Navigator.push(context, MaterialPageRoute(
            builder: (context) {
              return const FloatingActionButtonThirdScreen();
            },
          ));
        },
        heroTag: "actionButton",
        backgroundColor: Colors.cyan,
        child: const Icon(
          Icons.person,
          size: 50,
        ),
      ),
    );
  }
}
세 번째 화면 코드
import 'package:flutter/material.dart';

class FloatingActionButtonThirdScreen extends StatelessWidget {
  const FloatingActionButtonThirdScreen({Key? key}) : super(key: key);

  @override
  Widget build(BuildContext context) {
    return Scaffold(
      appBar: AppBar(
        title: const Text("FloatingActionButtonThirdScreen"),
      ),
      floatingActionButton: FloatingActionButton.small(
        onPressed: () {
        },
        heroTag: "actionButton",
        backgroundColor: Colors.green,
        child: const Icon(Icons.edit),
      ),
      floatingActionButtonLocation: FloatingActionButtonLocation.endTop,
    );
  }
}
hero animation 영상(앞선 이미지들은 IOS지만 영상은 Android입니다)
'Flutter > Flutter widget' 카테고리의 다른 글
| [Flutter] Navigator(화면이동) - 사용법(2부) (0) | 2023.04.01 |
|---|---|
| [Flutter] Navigator(화면이동) - 사용법(1부) (0) | 2023.03.31 |
| [Flutter] BottomNavigationBar Widget - 사용법 (0) | 2023.03.27 |
| [Flutter] Scaffold Widget - 사용법 (0) | 2023.03.27 |
| [Flutter] DefaultTabController, TabBar, TabBarView Widget - 사용법 (0) | 2023.03.27 |


